

 |
| School blazer cushion, Glee Warbler, Harry Potter |
 |
| Old School Blazer and Tie |
I have developed a tutorial for turning a jacket into a cushion (There are a lot of photos but hopefully that'll make things easier!). Since making the original Glee cushion I have adapted the tutorial to make the back of the cushion from the back of the jacket (so the the Glee cushion still has a cream fabric backing). The cushion is made using both the front and the back of the jacket, as well as the tie. The only extra fabric needed is some white to act as the shirt.
Materials
1 Jacket/Blazer (with or without badge)
1 Tie
White Fabric
1 Cushion Inner (size depends on size of jacket)
Coordinating cotton
Full tutorial after the jump
Making the Front
1. Measure across you jacket from sleeve to sleeve at the shortest point. This is the width of your cushion (mine was 14 1/2 ")

 |
| remove sleeves |
3. Find the side seams that separate the front and back of jacket. Cut up these and along the shoulders to completely separate the front from the back. Make sure you leave the collar intact on the front of the jacket. This will help to keep the shape.
 |
| Cut up the seam |
4. If your jacket is lined it is worth removing the lining from the front piece. This will make the fabric much easier to work with later on.
 |
| Left side - lining removed |
5. Now its time to mark out the shape of your cushion. I recommend chalk to mark on dark fabrics. The exact positioning of the top of the cushion will depend on whether your jacket has a badge. I marked the top at 2 1/2 " above the join between lapel and collar. From the top line mark 14 1/2" down to get the bottom edge of the cushion.

6. Cut along these horizontal lines so you have something like the picture below.

7. Mark the sides of the cushion so it is a square and cut.

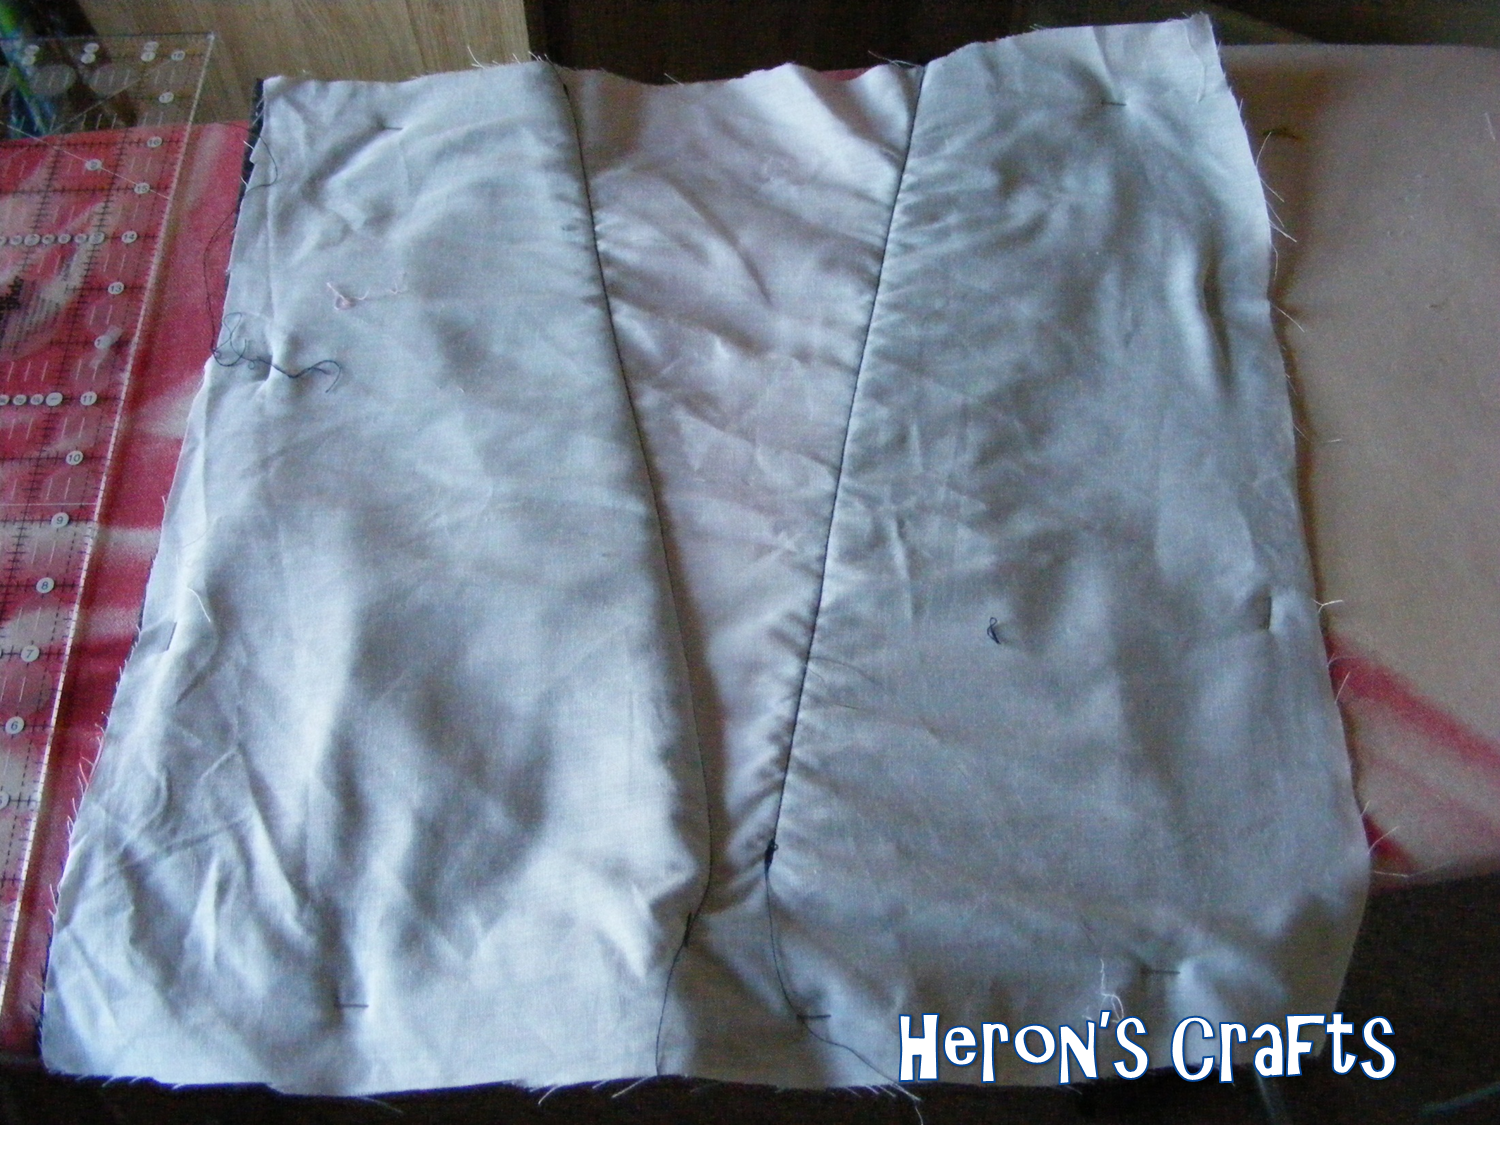
8. Lay the jacket piece on top of a piece of white fabric. Cut the white to the same size as the jacket. Pin in place. This is the shirt underneath the jacket
9.Trim the tie (reserve the thin end) and position in the jacket. Make sure that the end is hidden where the two jacket sides meet. Pin in place (use several pins here to ensure it is secure)


10. Fold the lapels in and pin as shown in the picture. Sew as close to the fold as possible in order to secure the jacket, white fabric and base of the tie. When complete unpin the lapels to hide the stitching

 |
| From the back |
|
| From the front |
Making the Back
1. Cut two pieces from the back of the jacket 14 1/2" x 9 ". Fold over about 1/4" from the top and press. Repeat so that you have a neat hem. Pin down. Repeat on the second piece.

2. Lay one of the back pieces right side down. Lay the remainding piece of the tie right side down along the folded edge. Line it up and pin so that about 1/4 - 1/2 of an inch can be seen above the hem on the right side.
 |
| From the back |
 |
| From the front |
3. Sew this hem to complete one back piece. Sew the second hem. You should now have two complete back pieces - one with a trim, one without.

Assembling the cushion
1. Lay the front piece, right side up on your board. Next, lay the back piece with trim right side down on top. Finally, lay the second back piece on top, right side down. Pin around the whole cushion.

 |
| This is how it should be laid out |
2. Sew all around the edge of the square ensuring to back stitch over the start and finish.
3. Turn the right way round, poke out the corners and put the cover onto a cushion.
And thats it!
Sorry for the post being so long! I am still getting used to writing tutorials and am trying to be thorough!
 |
| From the back |
|
| School Blazer cushion, Glee Warbler Cushion, Harry Potter Cushion |
For the Glee Cushion used some red ribbon for the trim round the jackcet and sewed this in place before I did any cutting. I also made the tie using fabric left over from the sleeves and some more red ribbon.
As ever, if you have any questions, or I haven't made something clear, please don't hesitate to ask!
Love Rebecca
Linking to...
The Grant Life*The Crafty Nest*Thirty Handmade Days*Blissful and Domestic*Five Days Five Ways*
Happy Hour Projects*Naptime Crafters*Family Ever After *Six Sisters' Stuff*Be Different Act Normal*
Bacon time with the hungry hypo*Positively Splendid*Tatertots and Jello *Sew Can Do*Making the World Cuter*The Girl Creates
Fantastic idea & fabulous work! Thank you for visiting & your sweet comment :)
ReplyDeleteTotally freakin' awesome. Saw this on Family Ever After, ad have pinned it too
ReplyDeleteI love your jacket pillows!!! Here in Canada we have a famous hockey commentator who wears "loud" suits with clashing ties. My family loves him and want "Don Cherry" pillows in the t.v. room. Thanks for the tutorial. My daughter also loves Harry Potter and will want a pillow like that too.
ReplyDeleteI found you on Positively Splendid. Here's what I submitted /janlynn-sewmore.blogspot.com/2012/01/late-christmas-gift.html
Thanks! I just googled Don Cherry and wow! That would make a great cushion! Loud is putting it rather mildly isn't it!
Delete