My second Olympic project is another travel essential. We are getting the train to and from London for the Olympics this summer so I made this ticket holder to hold train and tube tickets. I continued on the red white and blue theme started with the passport cover and I am please with how it turned out! The holder is perfect for holding tickets that are about credit card sized.
Materials
Blue, white, red fabric (see step 1 and 2 for exact measurements)
Blue button
5 inches elastic string
Instructions
1. Cut out your fabric...
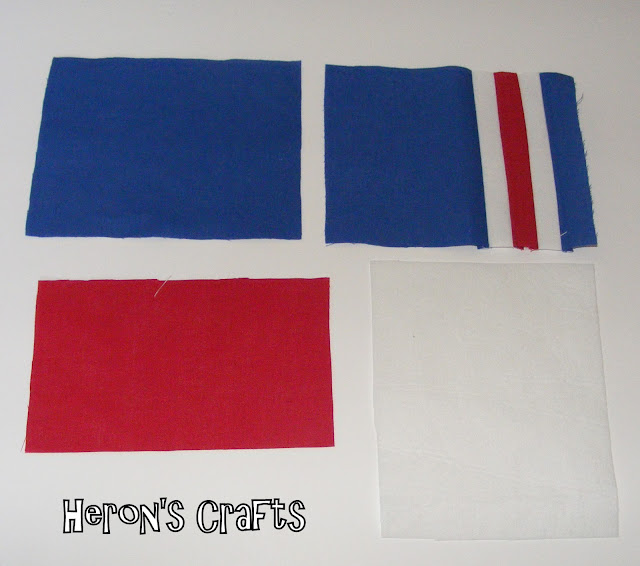
1x blue 15cm x 12cm (inside of holder)
1 x interfacing 15 cm x 12 cm
1 x red 15cm x 9cm (ticket pocket)

2. To make outside...
Cut 4 x 1" by 12cm strips in the following colours
1 x blue
1 x red
2 x white
Sew these together in the following order...blue, white, red, white.
Next to final white strip, sew a piece of blue fabric 12 cm x 12 cm. Trim so overall piece is 15cm x 12 cm. (as in the picture). Press the seams flat.
 |
| All pieces cut out |
 |
| Hem along top of pocket piece |
 |
| Sew along fold line to create two pockets |
6. Next job is to sew everything together, you will need to make a sandwich...
Lay interfacing down first, then put inside pocket fabric on top, right side up. Next lay over outside fabric right side down. Pin in place.
7. Fold elastic in two and pin between inside and outside fabrics, about half way down the shortest edge that is furthest away from your stripes (shown better in picture!)
8. Sew around the whole rectangle leaving a 1 1/2 inch gap on one of the long edges (use a 1/4" seam allowance)
 |
| Gap left for turning right side out |
10. Top stitch around entire holder closing gap
11. Use elastic to measure position of button and sew in place - mine was in the centre of the red strips but will depend on the exact measurement of your elastic
 There you have it, a simple ticket holder the perfect size for train tickets! Hope you are enjoying the start of the Easter weekend!
Love Rebecca
Linking to
Positively Splendid
Rae Gun Ramblings
Sew Much Ado
Fireflies and Jellybeans
Naptime Crafters
Six Sisters Stuff


This is so cool! Have a great time at the Olympics! We're so glad that you linked up to our "Strut Your Stuff Saturday." We hope you'll be back soon. -The Sisters
ReplyDelete